How to Start a YouTube Channel in 2026 (Step-by-Step)
Starting a YouTube channel takes five steps: create a Google account and channel, add your channel art and description, upload your first video, apply basic YouTube SEO, and post consistently until you reach your first 100 subscribers. Every step is free, and a phone is enough to begin.
This guide walks through each step in order, then covers budget equipment and the mistakes that slow most new channels down.
Step 1: Create Your Account and Channel
YouTube channels run on Google accounts, so that is where you start.
- Go to YouTube and sign in with your Google account (create one free if needed).
- Click your profile picture in the top-right corner and select Create a channel.
- Choose your channel name. Pick something easy to say, easy to spell, and broad enough to survive a change in content direction.
- Set your handle (the @name). Keep it as close to your channel name as possible so people who hear about you can actually find you.
One decision worth making now: what the channel is about. A clear niche tells viewers what to expect and helps YouTube recommend your videos to the right people. You do not need to lock yourself in forever, but "cooking on a budget" grows faster than "a bit of everything".
Step 2: Set Up Your Channel Art and Branding

Before your first upload, make the channel look intentional. Viewers who land on a bare channel rarely subscribe.
- Profile picture: a clear photo of your face or a simple logo. It renders tiny in comments and search, so avoid detail-heavy images.
- Banner: upload at 2560 x 1440 pixels and keep the important text in the center safe area, since TVs, desktops, and phones each crop the banner differently.
- Description: two or three sentences on what you make and who it is for. Mention an upload schedule if you can commit to one.
- Links and contact: add your social profiles and a contact email in the channel's customization settings.
In YouTube Studio you can also set a channel watermark and upload defaults, which saves time on every future video.
Step 3: Upload Your First Video
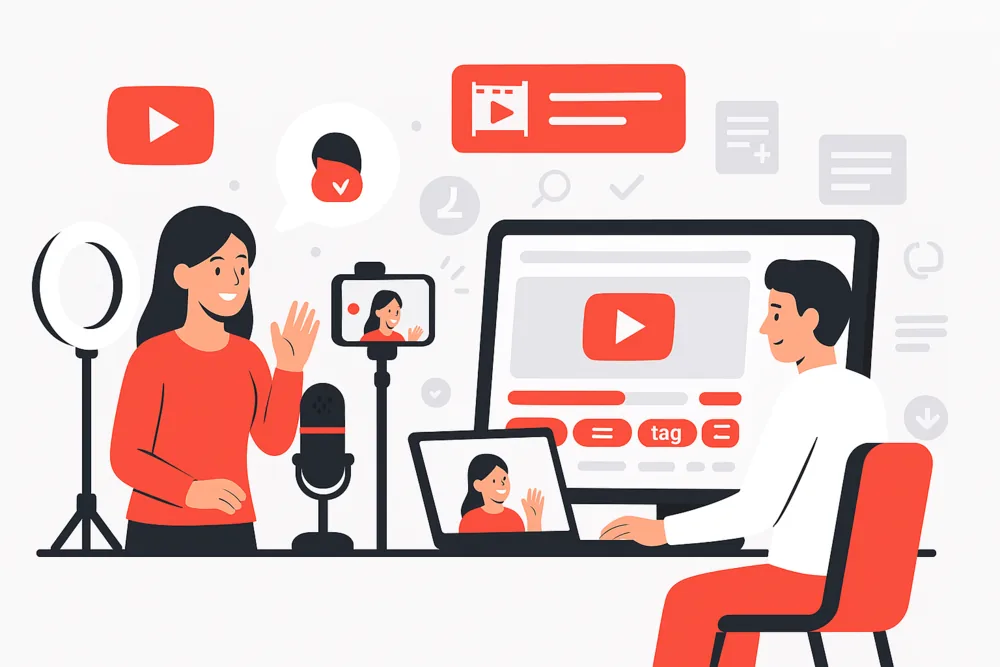
Your first video will not be your best video, and that is fine. The goal is to complete the full cycle once: plan, film, edit, publish.
Keep the plan simple. Answer one specific question or show one specific thing from your niche. Write a loose outline so you are not improvising structure on camera, film with your phone held steady (a stack of books works as a tripod), and face a window for free, flattering light.
When editing, cut every second that does not serve the video, especially the first ten. Free tools cover everything a beginner needs: CapCut and iMovie are the easiest starting points, DaVinci Resolve is the most powerful free option once you outgrow them.
Then upload through YouTube Studio: pick a title, write a description, upload a custom thumbnail, and set the visibility to public. If your plan includes streaming later, the setup is different from uploads; our guide on how to go live on YouTube covers it.
Step 4: Basic YouTube SEO
YouTube is a search engine, and small channels win their first views from search far more often than from the home feed. Basic SEO is mostly about matching how people actually search:
- Title: lead with the phrase someone would type to find your video ("how to sharpen a knife with a stone"), then add a reason to click. Keep it under about 60 characters so it does not truncate.
- Description: the first two lines show in search, so state plainly what the video covers. Add timestamps for longer videos; YouTube turns them into chapters.
- Thumbnail: one clear subject, big readable text (three or four words max), strong contrast. Your thumbnail competes at the size of a postage stamp.
- Tags and category: minor factors. Fill them in, but never at the expense of time spent on title and thumbnail.
- Playlists, cards, and end screens: group related videos and point each video at the next one, so one view can become two.
SEO gets a video found. Watch time keeps it recommended. If viewers click away in the first thirty seconds, no amount of keyword work saves the video, so the biggest "SEO" win is a tighter opening.
Step 5: Get Your First 100 Subscribers

The first 100 subscribers are the slowest 100 you will ever earn, because YouTube has no history to recommend you on. What works at this stage:
- Publish on a schedule you can sustain. One good video a week beats four rushed ones followed by a month of silence.
- Make searchable videos. Specific questions with small competition are how unknown channels get discovered.
- Use Shorts as a discovery engine. Short-form clips reach non-subscribers far more easily and can funnel viewers to your long videos.
- Reply to every comment. Early commenters become regulars when the creator actually answers.
- Ask for the subscription once, with a reason. "Subscribe if you want part two next week" outperforms a generic plea.
Views and subscribers feed each other, so it pays to work both sides: our guide on how to get more views on YouTube digs into the discovery side. Some creators also give a brand-new channel a small head start with YouTube subscribers from Bulkoid, so the channel does not read as empty while their upload rhythm builds; treat that as a supplement to consistent publishing, never a replacement for it.
YouTube Equipment on a Budget
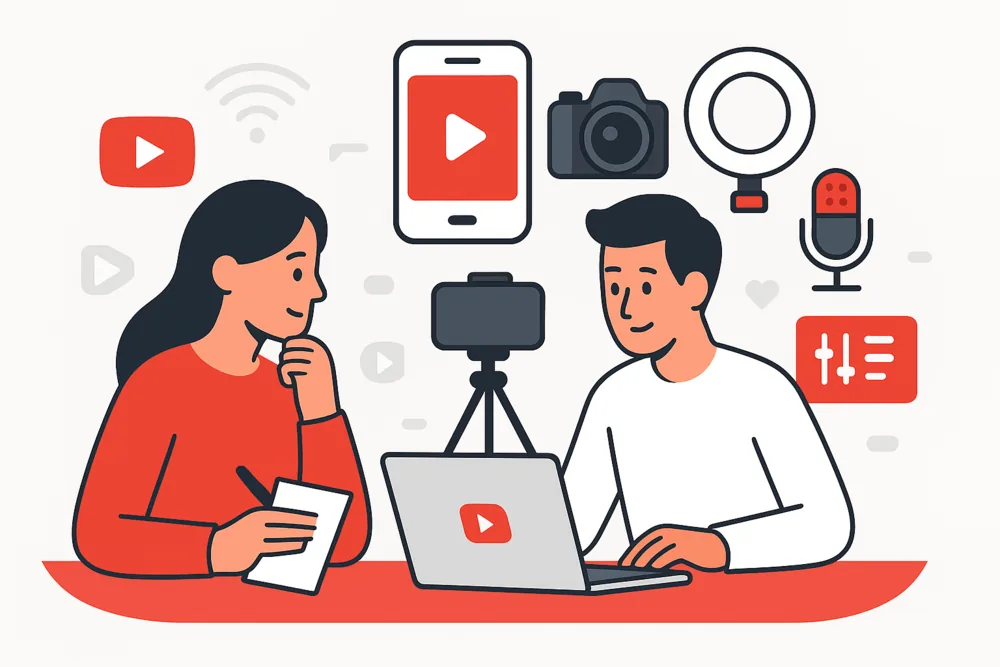
You do not need to buy anything to start. When you do upgrade, upgrade in this order: audio first, lighting second, camera last. Viewers forgive soft video; they do not forgive unlistenable audio.
| Gear | Free / built-in option | First upgrade |
| Camera | Smartphone camera | Used mirrorless or a better phone mount and stabilizer |
| Microphone | Phone's built-in mic, close to your mouth | Budget lavalier or USB microphone |
| Lighting | A window, with you facing it | Ring light or a single softbox |
| Editing | CapCut, iMovie, DaVinci Resolve | Paid tools (Final Cut Pro, Adobe Premiere Pro) only when a specific feature demands it |
A complete starter upgrade (lavalier mic, ring light, tripod) costs less than most people expect, and none of it matters until you have published enough videos to know you will stick with it.
Mistakes to Avoid When Starting a YouTube Channel
- Buying gear before publishing anything. Ten videos on a phone teach you more than any camera will.
- Copying big channels' style instead of their fundamentals. High-energy jump cuts work for channels with teams. Clarity and consistency work for everyone.
- Ignoring the thumbnail and title until after upload. Decide them before filming; they are half the video's performance.
- Uploading irregularly. The algorithm and your audience both reward rhythm.
- Ignoring analytics. Retention graphs in YouTube Studio show the exact second viewers leave. That is your edit list for the next video.
- Quitting at video ten. Nearly every successful channel's early videos got a handful of views. The channels that grew are the ones that kept uploading through that phase.
Final Thoughts

Starting a YouTube channel in 2026 costs nothing but time: create the channel, brand it, publish a first video, make it findable, and keep showing up until the first 100 subscribers arrive. Equipment upgrades and advanced strategy can wait; the upload habit cannot.
Your first step is simply starting. Your next step is growing.