Scheduling posts on Facebook is one of the easiest ways to stay consistent without feeling tied to your phone.
It helps you plan ahead, reach people when they’re most active, and keep your page looking alive even on busy days. This is especially useful if you’re running a small business, managing a growing page, or simply trying to post more regularly.
Facebook’s built-in scheduling tools make the whole process simple, whether you’re on desktop or using the mobile app.
Once you learn where everything is, setting up posts in advance takes just a few taps.
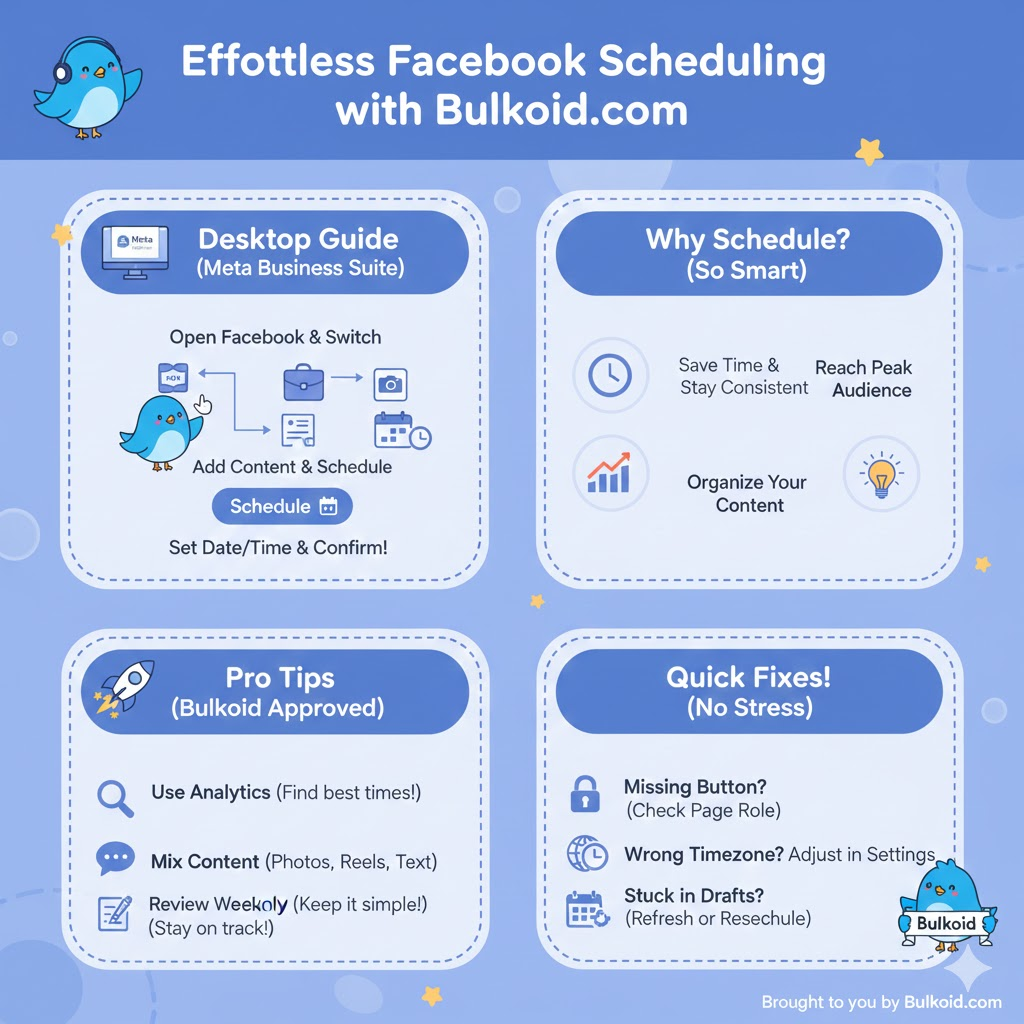
How to Schedule a Post on Facebook (Desktop Step-by-Step)
Scheduling a Facebook post on desktop takes less than a minute once you know where everything is.
The main tool you’ll use is Meta Business Suite, which is available to all Facebook Pages and Professional Mode profiles.
Steps:
- Open Facebook on your computer: Log in and switch to the Page or profile you want to post from.
- Go to Meta Business Suite: You can access it from the left sidebar or by visiting business.facebook.com.
- Click “Posts & Stories”: This shows your published, drafted, and scheduled posts.
- Select “Create Post”: Add your caption, photos, videos, or links.
- Open the scheduling options: Click the arrow next to “Publish” and choose Schedule.
- Choose your date and time: Pick when you want the post to go live. Make sure your timezone is correct.
- Click “Schedule”: Your post will now appear in the Scheduled tab where you can edit, reschedule, or cancel it anytime.
Scheduling on desktop is the easiest way to plan a full week of content at once, especially if you’re posting regularly or coordinating with other people on your team.
How to Schedule a Post on Facebook (Desktop Step-by-Step)
Scheduling a post on desktop is simple once you know where the options are.
Everything happens inside Meta Business Suite, which is Facebook’s built-in tool for managing content.
Follow these steps:
- Open Facebook on your computer and go to Meta Business Suite.
- In the left menu, click Posts & Stories.
- Select Create Post.
- Add your content: text, images, links, or video.
- Click Scheduling Options at the bottom.
- Choose your preferred date and time for the post to go live.
- Press Schedule to confirm.
You can always return to Scheduled Posts to edit the caption, change the posting time, or cancel the post entirely.
Best Practices for Scheduling Facebook Posts

Scheduling works best when you build it around a simple posting plan.
It helps you stay consistent without feeling overwhelmed, and it lets you focus on better content instead of scrambling to post at the last minute.
To get the most out of your scheduled posts, try to follow a few basics:
- Make sure you are posting from a Page or a Professional Mode profile
- Use Meta Business Suite to see when your audience is most active
- Mix different content types so your page stays interesting
- Keep captions clear and easy to read
- Avoid posting too many times in one day
- Review your upcoming posts every week and adjust if needed
If you use Facebook for selling, scheduled posts can support your Marketplace activity by keeping your audience updated with new items, restocks or small reminders.
Many beginners pair Marketplace listings with regular page updates because it makes their shop look more organised and trustworthy
Troubleshooting Common Issues

Scheduling usually works smoothly, but a few problems show up often. Most of them are easy to fix once you know what to look for.
Missing the Schedule Button
This usually happens when the Page role doesn’t have full access. Make sure you have admin or editor permissions.
Wrong Timezone
If your scheduled posts go out at unexpected hours, check the timezone in Meta Business Suite. Adjusting it will sync your schedule correctly.
Posts Getting Stuck in Draft
Sometimes a post sits in draft instead of scheduling. Refresh the page or reopen the post in Meta Business Suite and try saving again.
Meta Business Suite Not Loading
If the dashboard doesn’t open, switching browsers or logging out and back in solves it most of the time.
Some Content Types Not Supporting Scheduling
A few formats, especially newer ones, may not support scheduling. When you plan announcements or updates for upcoming events, pairing them with a well organised event page can help you keep your audience informed.
Give Your Scheduled Posts a Stronger Start

Scheduling helps you stay consistent, but your reach still depends on how quickly people interact with your content. Facebook tends to push posts that pick up early likes because it signals that the content is worth showing to more people.
This is why many creators pair scheduled posts with a small engagement boost at the beginning. It gives your content more visibility during the first minutes, which often makes the overall reach stronger.
If you want your scheduled posts to perform better, you can use high retention Facebook likes from Bulkoid to help your content look active and trustworthy. It is a simple way to support your posting strategy without changing your workflow, especially when you are planning content ahead of time.
Final Thoughts

Scheduling your Facebook posts keeps you consistent without extra effort.
Once you get used to Meta Business Suite and Creator Studio, planning your week becomes much easier. It also gives you more time to focus on better ideas and visuals your audience actually enjoys.
Consistency builds trust, and trust helps your page grow. A little early engagement can also push your scheduled posts further and keep them visible longer.
👉 Boost your scheduled content with high retention Facebook likes.
Real engagement helps your posts gain momentum faster and reach more people naturally.
Start growing with confidence and give your content the visibility it deserves.